Tropical Vibes with the Hibiscus Cluster
Today I am participating in the Sharing Summer Instagram Hop. This week’s color challenge gave me the perfect opportunity to play with the gorgeous new Hibiscus Cluster Die & Stencil set from Waffle Flower’s Sneak Peek Club. I absolutely loved how this project came together—from the ink blending to the sparkly finishing touches!
Creating the Card
To start, I used the layering stencils to create the beautiful hibiscus blooms. I chose a tropical-inspired ink palette and had so much fun blending the colors to give the flowers a soft, vibrant look.
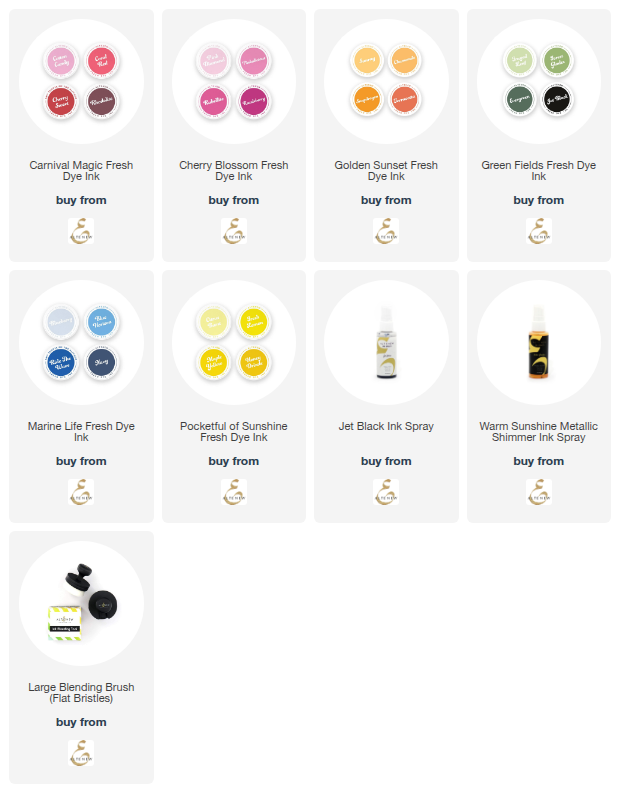
I used the following Altenew inks to blend each stencil layer:
- Layer 1: Pinkalicious and Coral Red
- Layer 2: Razzleberry and Pinkalicious
- Layer 3: Frayed Leaf and Forest Glades
- Layer 3: Snapdragon, Citrus Burst, and Evergreen
For the background, I did more ink blending shades of blue, then added a little mixed-media flair with gold and black ink splatters. The contrast gave the piece a bold, artistic feel that I really love. Of course, no tropical flower card is complete without a touch of bling—so I added a few gold embellishments to finish it off.
Final Thoughts
I’m really happy with how this card turned out! The layered hibiscus is a statement piece all on its own, and it works beautifully for summer-themed cards or just when you want to send a little sunshine through the mail.
Thanks for stopping by. I hope this card brings a little sunshine to your day and inspires you to create something today!
Happy stamping,
Lisa 💛
Supply List
(Links may include affiliates, which help support my blog at no extra cost to you. Thank you!)
Hibiscus Cluster Die (Waffle Flower)
Hibiscus Cluster Stencil (Waffle Flower)
Altenew Ink (see below)
Low Profile Dots (Stampin' Up!)
Blending brushes (detailed brushes from Waffleflower; large brushes from Altenew)
White Cardstock (Concord & 9th is my favorite for blending)


Comments
Post a Comment