AECP: All About Layering 4
Hello Crafty Friends!
I'm popping in today with another project from my AECP journey! This card was created for the Layering 4 class, which highlights one of Altenew’s signature techniques—layering stamps. If you haven’t tried these before, they’re a total game-changer! Each stamp layer adds a new shade or detail, and when you stack 3 or 4 of them together… wow. The result is a beautifully detailed image that looks like you spent hours painting.
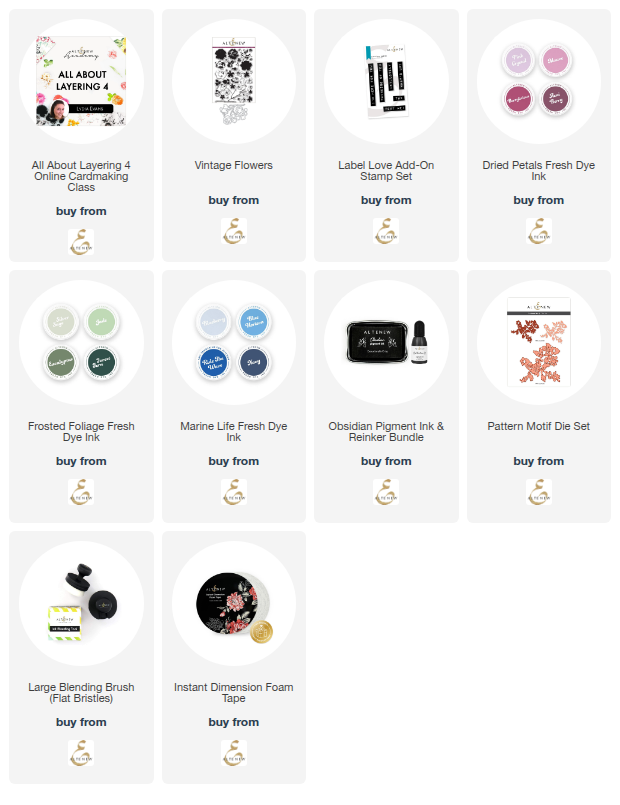
For this card, I used the Vintage Flowers stamp set with the coordinating dies. I stamped the flowers in Pink Crystal, Mauve, and Berrylicious—a gorgeous trio that gives a soft but rich look. The leaves were stamped in Silver Sage, Jade, and Eucalyptus for a lovely contrast.
Once I had everything stamped and die-cut, I played around with placement but felt like it needed a little something extra.I pulled out an Color Cube card for inspiration—one with pinks and greens similar to what I’d already used—and decided to add some small blue accents for a fun pop of color.
I kept the background simple but pretty. I cut a white card panel and lightly blended Pink Crystal ink using a large blending brush. Then, I layered on a big white die-cut flourish to add some texture without overpowering the florals.
A Few Design Tips:
Add dimension: Use both foam tape and a tape runner to vary the height of your elements. It really makes the design pop!
Ground your design: A bold or dark sentiment can act as a visual anchor—it gives the eye a place to rest.
Balance with symmetry: Try mirroring your floral clusters to create a well-balanced layout.
If you’ve never tried layering stamps before, I hope this card gives you a little nudge to give them a go. They’re super satisfying to use, and the results always feel like magic!
Until next time—
Happy Stamping!
Lisa 💕
Supply List:


Thats a FABULOUS card!!
ReplyDelete